Lacto fermented wild garlic - forget pesto - this is THE best thing to make with this abundant spring herb/vegetable...
Everyone always asks for this recipe so it seem only fitting to make the first Foraged blog article the recipe for this Wild Garlic Kimchi!
As with all lacto-fermentation it's really simple - although that said this recipe has a few ingredients that need preparation. I'm always asked how to prepare the vegetables and my response is 'as you like them - do you like your coleslaw grated or chunky?'. I actually like my coleslaw chunky but tend to make my ferments finer so that they are easier to extract from the ferment vessel at the time of serving. This is mainly due to needing them to last longer to give to as many customers as possible before I run out!
As with other lacto-fermentation the key ingredients are vegetable/herb, salt and lactobacillus bacteria. The salt extracts the liquid from the plant matter and the bacteria provides the rest of the magic - converting sugars into lactic acid to give the wonderful sour taste associated with the likes of Kimchi, Sauerkraut, Dill Pickles etc. Also due to the salt puling water from the plant matter the vegetables retain a crunchiness long into the future.
The basic process is to get your veg, weigh it and then add between 2 & 3 percent salt. So for every 1kg of veg add between 20g and 30g of salt - depending on your taste. With experience you can drop the salt quota to a lower percentage but to start with this is my recommendation.
Chop up your plant matter to desired chunkiness and then mix with the salt - making sure to thoroughly mix the two. A large bowl, or bucket or bag will do.
Ingredients
- 1kg Wild Garlic Leaf & Stem
- Salt
Method
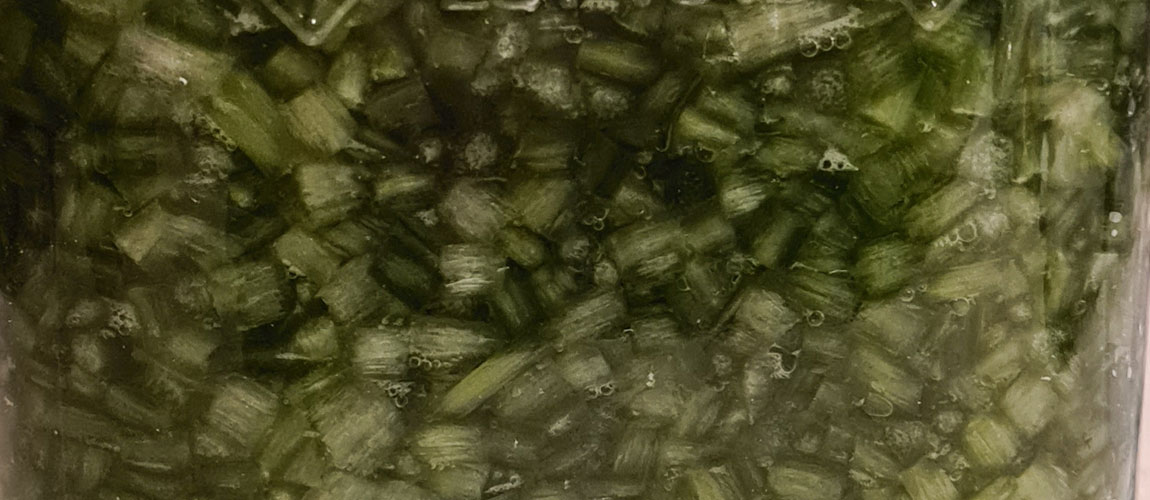
- Chop 1kg Wild Garlic and mix with 20g to 30g of salt - squash down and leave overnight for juices to extract.
- Compress the well mixed contents to expell air and also to submerge under the wild garlic juices.
- Place a glass or other 'weight ' ontop of the vegetables to raise the liquid level further to help submerge the vegetables.
- Leave at least a 3rd of the vessel empty to allow for the ferment to breath as the bacteria does it's thing.
- Each day check the ferment and push the vegetable mass back down to expel the gas and 'burp' the ferment.
- The ferment should be ready to start eating after around a week - depending on the warmth of where the fermentation is taking place.
- After two weeks place inside a fridge to slow down the fermentation process - or freeze to stop in it's tracks.
- Enjoy!